

Installing color aluminum coil on a concrete wall can significantly enhance the aesthetic appeal and durability of a building's exterior. As a reputable Color Aluminum Coil supplier, I am here to guide you through the entire process, ensuring that you achieve a professional and long - lasting installation.
Preparation
Before you begin the installation, it is crucial to gather all the necessary tools and materials. Here is a list of what you will need:
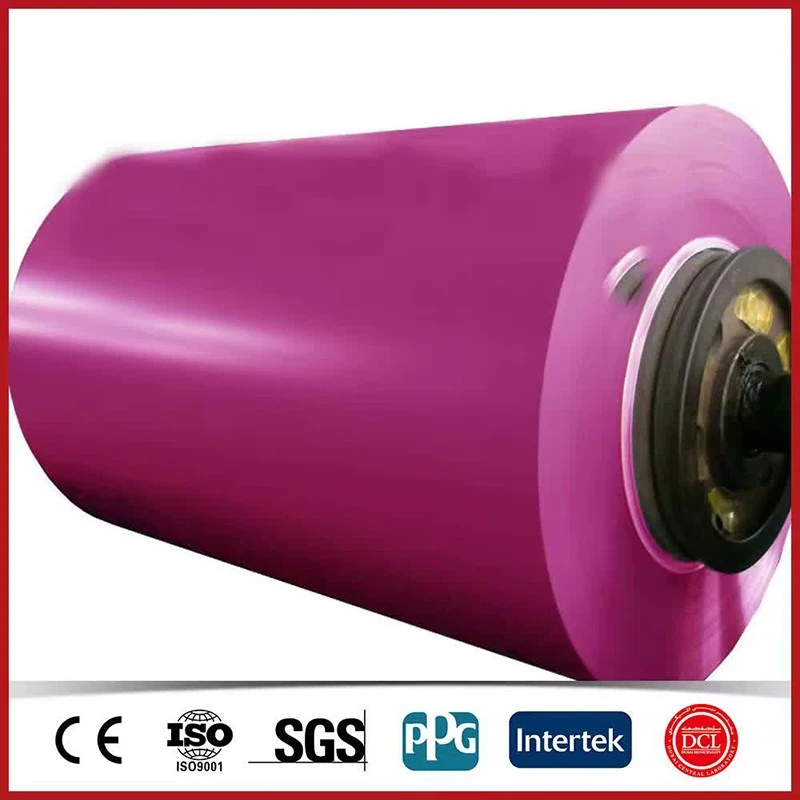

- Color aluminum coils: You can choose from our wide range of products, such as Coated Aluminum Roll and Premium Coils, which offer excellent quality and a variety of colors.
- Measuring tape: To accurately measure the dimensions of the concrete wall and the aluminum coils.
- Utility knife: For cutting the aluminum coils to the required size.
- Drill: To make holes in the concrete wall for fastening the aluminum coils.
- Masonry bits: Compatible with the drill for drilling into the concrete.
- Screwdrivers: Both flat - head and Phillips - head for tightening screws.
- Level: To ensure that the aluminum coils are installed straight and level.
- Adhesive: A high - quality construction adhesive can be used to provide additional support and a more secure bond.
Surface Preparation
The first step in the installation process is to prepare the concrete wall surface. A clean and smooth surface is essential for a successful installation.
- Clean the Wall: Remove any dirt, dust, debris, or loose paint from the concrete wall. You can use a pressure washer or a stiff brush to clean the surface thoroughly. Allow the wall to dry completely before proceeding.
- Repair Damages: Inspect the wall for any cracks, holes, or uneven areas. Fill the cracks and holes with a suitable concrete patching compound. Sand down any rough or uneven spots to create a smooth surface.
- Mark the Installation Area: Use a measuring tape and a chalk line to mark the area where the aluminum coils will be installed. Make sure the markings are straight and level.
Measuring and Cutting the Aluminum Coils
Accurate measurement and cutting of the aluminum coils are vital to ensure a proper fit on the concrete wall.
- Measure the Wall: Measure the height and width of the marked installation area on the concrete wall. Add a few extra inches to each measurement to allow for trimming and adjustments.
- Cut the Coils: Use a utility knife or a metal shear to cut the aluminum coils according to the measured dimensions. Make sure to wear protective gloves and goggles during the cutting process. When cutting, follow the straight edge of a ruler or a straight piece of wood to ensure a clean and straight cut.
Installation Process
Once the surface is prepared and the aluminum coils are cut, you can start the installation process.
- Apply Adhesive (Optional): If you choose to use adhesive, apply a thin and even layer of the construction adhesive on the back of the aluminum coil. Make sure to spread the adhesive evenly to avoid air bubbles.
- Position the Coil: Carefully place the first aluminum coil against the marked area on the concrete wall. Use a level to ensure that the coil is straight and level. Press the coil firmly against the wall to bond it with the adhesive (if used).
- Drill Holes: Mark the positions for the fastening holes on the concrete wall through the pre - drilled holes in the aluminum coil. Use a drill with a masonry bit to drill holes into the concrete. The size of the holes should match the size of the screws or fasteners you will be using.
- Fasten the Coil: Insert the screws or fasteners through the holes in the aluminum coil and into the drilled holes in the concrete wall. Tighten the screws using a screwdriver, but be careful not to overtighten, as this may damage the aluminum coil.
- Install Subsequent Coils: Repeat the process for each subsequent aluminum coil. Make sure to align the edges of the coils properly to create a seamless appearance. You can use a caulking gun to apply a small amount of sealant between the joints of the coils to prevent water infiltration.
Finishing Touches
After all the aluminum coils are installed, there are a few finishing touches to complete the project.
- Trim the Edges: Use a utility knife or a metal shear to trim any excess aluminum coil at the edges of the installation area. Make sure the edges are smooth and clean.
- Seal the Edges: Apply a waterproof sealant around the edges of the installed aluminum coils to prevent water from seeping behind the coils and causing damage.
- Clean the Surface: Wipe down the surface of the installed aluminum coils with a clean cloth to remove any fingerprints, dirt, or debris.
Maintenance
To ensure the longevity and appearance of the installed color aluminum coils, regular maintenance is required.
- Cleaning: Periodically clean the aluminum coils with a mild detergent and water. Use a soft cloth or a sponge to avoid scratching the surface. Rinse the coils thoroughly with clean water and dry them with a soft towel.
- Inspection: Regularly inspect the coils for any signs of damage, such as scratches, dents, or loose fasteners. If any issues are detected, repair them promptly to prevent further damage.
Advantages of Using Our Color Aluminum Coils
As a supplier of high - quality color aluminum coils, we offer several advantages to our customers.
- Durability: Our Premium Coils are made from high - grade aluminum materials, which are resistant to corrosion, rust, and weathering. They can withstand harsh environmental conditions and maintain their appearance for many years.
- Aesthetic Appeal: We provide a wide range of colors and finishes for our color aluminum coils, allowing you to choose the perfect option to match the style and design of your building. Whether you prefer a modern, sleek look or a more traditional appearance, our coils can meet your aesthetic needs.
- Easy Installation: Our aluminum coils are designed for easy installation, which can save you time and labor costs. With the right tools and a little bit of knowledge, you can complete the installation process on your own.
- Cost - Effective: Compared to other building materials, our color aluminum coils offer a cost - effective solution for enhancing the exterior of your building. They provide long - term value and require minimal maintenance.
Contact Us for Purchasing
If you are interested in purchasing our high - quality color aluminum coils, such as Coated Aluminum Roll and Aluminium Paint Coil, please feel free to contact us. Our experienced sales team is ready to assist you with your inquiries, provide detailed product information, and offer competitive pricing. We are committed to providing excellent customer service and ensuring your satisfaction with our products.
References
- "Aluminum Coil Installation Guide", Construction Materials Handbook
- "Best Practices for Exterior Wall Finishes", Building Science Journal
- "Color Aluminum Coil Product Manual", Our Company's Technical Documentation