

Installing ACP (Aluminum Composite Panel) sheets for the kitchen on curved surfaces can be a challenging yet rewarding endeavor. As a trusted supplier of ACP sheets for the kitchen, I've witnessed firsthand the transformative power of these panels in both residential and commercial settings. In this blog post, I'll share a comprehensive guide on how to install ACP sheets on curved surfaces, covering everything from preparation to the final touches.
Understanding ACP Sheets for the Kitchen
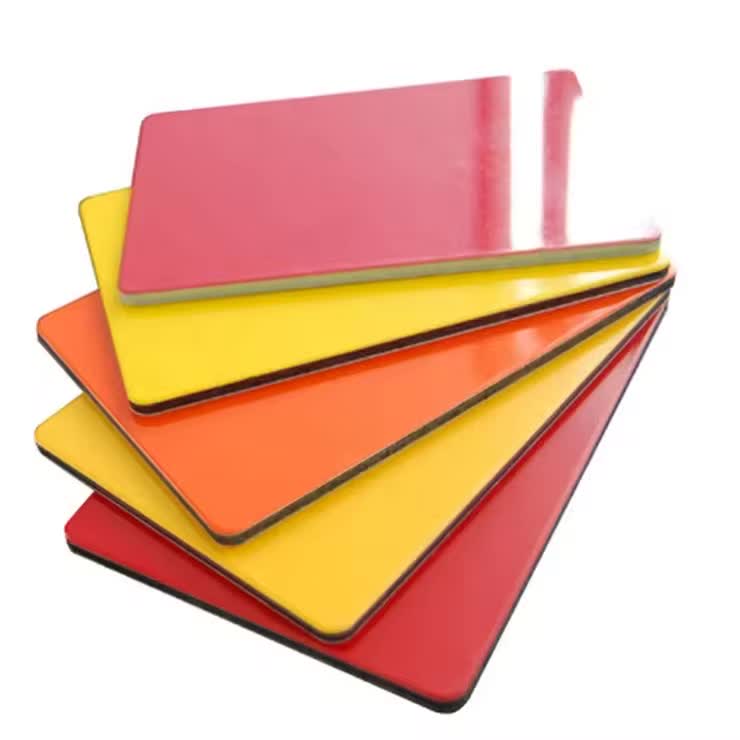
ACP sheets are a popular choice for kitchen applications due to their durability, versatility, and aesthetic appeal. These panels consist of two aluminum sheets bonded to a core material, typically polyethylene or a fire-resistant substance. The result is a lightweight yet sturdy panel that can withstand the rigors of daily use in the kitchen.
When it comes to curved surfaces, ACP sheets offer several advantages. They can be easily bent to fit the desired curvature, allowing for seamless integration into any kitchen design. Additionally, ACP sheets are available in a wide range of colors, finishes, and patterns, enabling you to create a unique and personalized look for your kitchen.
Preparing for Installation
Before you begin the installation process, it's essential to prepare the surface and gather all the necessary tools and materials. Here's a step-by-step guide to help you get started:
1. Measure the Curved Surface
Accurate measurements are crucial for a successful installation. Use a flexible measuring tape to measure the length, width, and radius of the curved surface. Make sure to take multiple measurements at different points to account for any irregularities.
2. Choose the Right ACP Sheets
Select ACP sheets that are suitable for curved surfaces. Look for panels with a high flexibility rating and a thickness that can withstand the bending process without cracking or delaminating. As a supplier, I recommend considering Fire Resistant Composite Panels for their enhanced safety features and durability.
3. Gather the Necessary Tools and Materials
In addition to the ACP sheets, you'll need the following tools and materials:
- Flexible saw or jigsaw
- Router or file
- Adhesive or double-sided tape
- Clamps or brackets
- Measuring tape
- Pencil
- Safety equipment (gloves, goggles, etc.)
4. Prepare the Surface
Clean the curved surface thoroughly to remove any dirt, dust, or debris. Use a mild detergent and water to clean the surface, and then dry it completely before proceeding. If the surface is uneven or rough, you may need to sand it down to create a smooth and even base for the ACP sheets.
Cutting and Bending the ACP Sheets
Once you've prepared the surface and gathered all the necessary tools and materials, it's time to cut and bend the ACP sheets to fit the curved surface. Here's how to do it:
1. Mark the Cutting Lines
Using a pencil and measuring tape, mark the cutting lines on the ACP sheets according to your measurements. Make sure to leave a little extra material on each side to allow for any adjustments during the installation process.
2. Cut the ACP Sheets
Use a flexible saw or jigsaw to cut the ACP sheets along the marked lines. Make sure to use a fine-toothed blade to prevent the panels from chipping or cracking. If you're using a jigsaw, make sure to keep the blade perpendicular to the surface to ensure a straight cut.
3. Bend the ACP Sheets
To bend the ACP sheets, you'll need to use a bending machine or a heat gun. If you're using a bending machine, follow the manufacturer's instructions to set the desired radius and bend the panels accordingly. If you're using a heat gun, apply heat evenly to the back of the panel until it becomes pliable, and then bend it slowly and carefully to the desired curvature.
4. Trim the Edges
Once the ACP sheets are bent to the desired curvature, use a router or file to trim the edges and smooth out any rough spots. Make sure to wear safety gloves and goggles when using these tools to prevent injury.

Installing the ACP Sheets
Now that you've cut and bent the ACP sheets to fit the curved surface, it's time to install them. Here's how to do it:
1. Apply the Adhesive or Double-Sided Tape
Apply a thin layer of adhesive or double-sided tape to the back of the ACP sheets. Make sure to cover the entire surface evenly to ensure a strong bond. If you're using adhesive, follow the manufacturer's instructions to allow the adhesive to dry for the recommended amount of time before proceeding.
2. Position the ACP Sheets
Carefully position the ACP sheets on the curved surface, starting from one end and working your way to the other. Make sure to align the panels properly and press them firmly against the surface to ensure a tight fit. Use clamps or brackets to hold the panels in place while the adhesive dries.
3. Secure the ACP Sheets
Once the ACP sheets are positioned correctly, use screws or nails to secure them to the surface. Make sure to use the appropriate type and size of screws or nails for the material of the surface. If you're using screws, make sure to pre-drill the holes to prevent the panels from cracking or splitting.
4. Fill the Gaps
If there are any gaps between the ACP sheets, use a silicone sealant or caulk to fill them. Make sure to choose a sealant or caulk that is compatible with the material of the ACP sheets and the surface. Apply the sealant or caulk evenly to the gaps, and then smooth it out with a putty knife or your finger.
Finishing Touches
After the ACP sheets are installed and the adhesive has dried, it's time to add the finishing touches. Here are some tips to help you complete the installation process:
1. Clean the Surface
Use a mild detergent and water to clean the surface of the ACP sheets and remove any dirt, dust, or debris. Make sure to dry the surface completely before proceeding.
2. Inspect the Installation
Inspect the installation carefully to make sure that the ACP sheets are properly aligned, secured, and sealed. Check for any gaps, cracks, or other defects, and make any necessary repairs or adjustments.
3. Add Accessories
To enhance the appearance and functionality of your kitchen, you may want to add some accessories to the ACP sheets. For example, you can install handles, knobs, or hinges to the cabinets or drawers, or you can add lighting fixtures to the ceiling or walls.
Conclusion
Installing ACP sheets for the kitchen on curved surfaces can be a challenging but rewarding project. By following the steps outlined in this blog post, you can ensure a successful installation and create a beautiful and functional kitchen that you'll enjoy for years to come.
As a supplier of ACP sheets for the kitchen, I'm committed to providing high-quality products and exceptional customer service. If you have any questions or need further assistance with your ACP sheet installation project, please don't hesitate to contact me. I'd be happy to help you find the right products and solutions for your needs.
References
- Aluminum Composite Panel Association. (n.d.). Aluminum Composite Panels: A Guide to Design, Fabrication, and Installation. Retrieved from [Website URL]
- Fire Resistant Composite Panels
- Fire Rated ACP Sheets