

Hey there! As a supplier of Acp (Aluminum Composite Panel) for ceiling, I'm stoked to share some tips on how to install Acp for the ceiling in a small room. It might seem like a daunting task, but with the right approach, it can be a pretty straightforward and rewarding DIY project.
Step 1: Gather Your Materials and Tools
First things first, you'll need to get all the necessary stuff. For materials, obviously, you need the Acp sheets. You can find different types of ACP sheets on our website, like the ACP Sheet for Kitchen and ACP Sheet For Kitchen. These can also be used for your small room ceiling. Make sure to measure your ceiling accurately to figure out how many sheets you need. You'll also need some high - quality screws, a good adhesive suitable for ACP, and corner trims if you want a neat finish.
As for tools, a tape measure is a must for getting those precise measurements. A circular saw or a jigsaw will be useful for cutting the ACP sheets to the right size. A drill is needed to make holes for the screws, and a screwdriver (either manual or electric) to fasten them. A level is crucial to ensure that your ceiling is straight, and a utility knife can come in handy for some minor trimming.
Step 2: Prepare the Ceiling Surface
Before you start getting the ACP up, you've gotta prep the ceiling. Remove any old paint, wallpaper, or debris. The surface should be clean, dry, and smooth. If there are any bumps or holes, fill them in with a suitable filler and sand it down once it's dry. This will give you a nice, even base for the ACP installation.
Step 3: Plan the Layout
Take a good look at your small room and plan how you're going to lay out the ACP sheets. You can start from one corner of the ceiling and work your way across. It's a good idea to draw a rough layout on the ceiling with a pencil. This will help you visualize how the sheets will fit together and where you'll need to make any cuts.
Step 4: Cut the ACP Sheets
Now, it's time to cut the sheets. If you're using a circular saw, make sure to use a fine - tooth blade. This will give you a clean cut without chipping the edges of the ACP. Mark the cutting lines on the sheets using a straightedge and a marker. When cutting, hold the sheet firmly to avoid any wobbling. If you need to make curved cuts, a jigsaw is your best bet. Just go slow and steady to get a smooth curve.
Step 5: Attach the ACP Sheets
There are two main ways to attach the ACP sheets to the ceiling: using screws or adhesive.
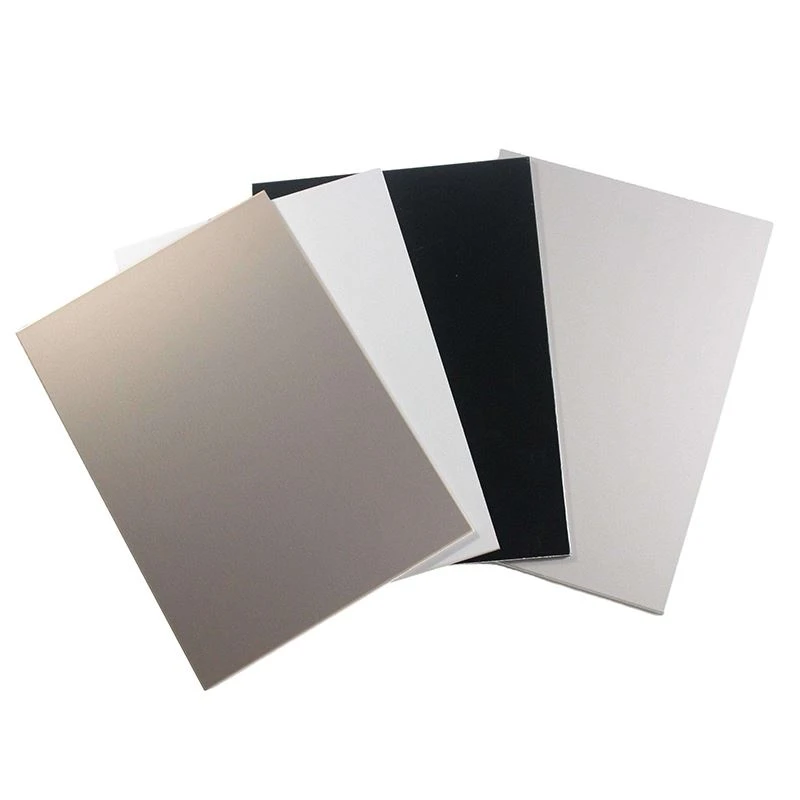
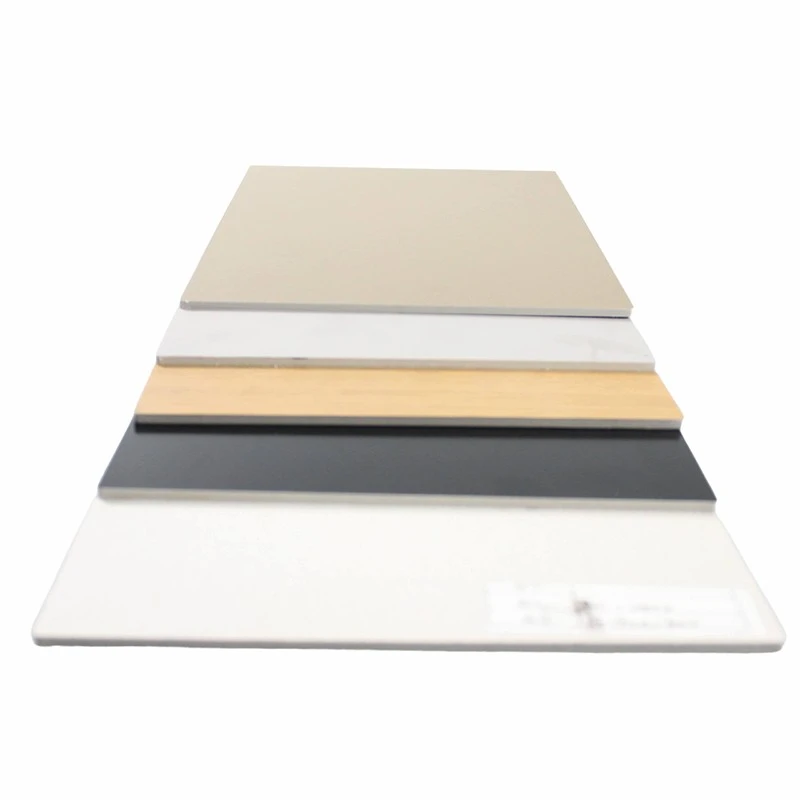
If you choose screws, drill pilot holes in the ACP sheets first. This will prevent the sheets from cracking when you insert the screws. Space the holes evenly, about every 8 - 10 inches. Then, align the sheet with the layout on the ceiling and use the drill to attach it with the screws. Make sure the screws are flush with the surface of the ACP.
Using adhesive is another option. Apply a thin, even layer of the adhesive on the back of the ACP sheet. Be careful not to use too much, as it can make a mess. Press the sheet firmly against the ceiling and hold it in place for a few minutes to let the adhesive set. You might need to use some temporary supports (like clamps or blocks) to keep the sheet in place while the adhesive cures.
Step 6: Join the Sheets Together
When you have multiple ACP sheets, you need to join them seamlessly. You can use a butt joint where the edges of the two sheets meet. Make sure the edges are cut straight and aligned properly. If you want a more professional look, you can use a jointing strip. There are different types available that can hide the joint and give a clean finish.
Step 7: Install the Corner Trims
Adding corner trims is like putting the cherry on top. It gives your ceiling a finished look. Measure the corners of your room and cut the trims to the right length. Use adhesive or screws to attach them to the corners. Make sure they fit snugly and are aligned properly.
Step 8: Finishing Touches
Once all the ACP sheets and trims are in place, take a good look at your ceiling. Check for any loose screws, gaps, or uneven areas. If you find any, fix them right away. You can use some touch - up paint or a sealant to cover any small scratches or imperfections.
Installing Acp for the ceiling in a small room not only gives it a modern and stylish look but also adds durability. Our Aluminum Composite Sign Panel Sheet is also a great option if you're looking for a panel with unique properties.
If you're interested in purchasing Acp for your ceiling or have any questions about the installation process, feel free to reach out. We're here to help you every step of the way, whether you're a DIY enthusiast or a professional contractor.
References
- "Aluminum Composite Panel Installation Guide" - General industry guide on ACP installation
- "Small Room Interior Design with Ceiling Upgrades" - A book discussing interior design and ceiling options for small spaces
I hope this blog helps you with your Acp ceiling installation project. Don't hesitate to contact us for all your Acp needs!