

Ensuring the flatness of painted aluminum coils during installation is crucial for achieving a professional and aesthetically pleasing finish. As a paint aluminum coil supplier, I've encountered various challenges and learned valuable tips and tricks to guarantee a smooth installation process. In this blog post, I'll share some practical advice on how to ensure the flatness of painted aluminum coils during installation.
Selecting the Right Coil
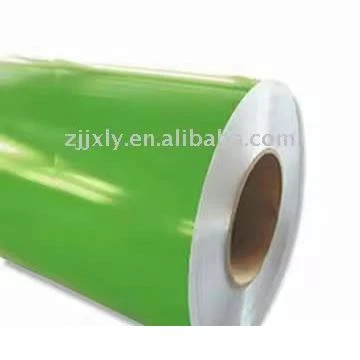
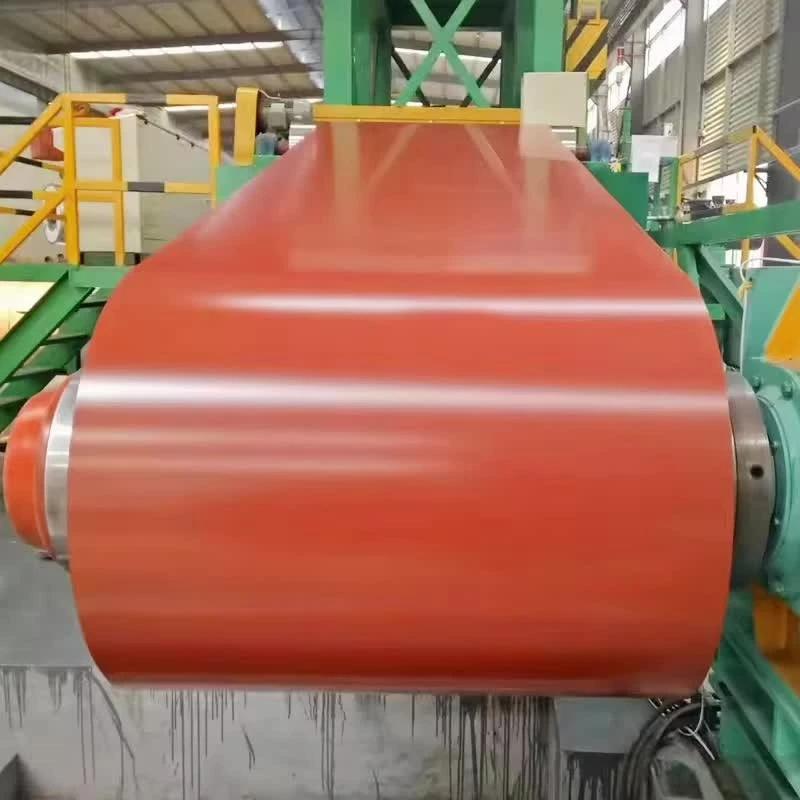
First and foremost, choosing the appropriate paint aluminum coil is vital. Select a high - quality coil from a reliable manufacturer. Our Coated Aluminum Roll and Prefinished Aluminum Coils are engineered to meet strict quality standards, which significantly reduces the chances of unevenness during installation. Make sure the coil has the right thickness for your project. Thicker coils generally offer better rigidity and are less likely to warp. However, if the project requires a more flexible solution, a thinner coil might be suitable, but extra care should be taken to maintain flatness.
Proper Storage and Handling
The way you store and handle the painted aluminum coils before installation can greatly impact their flatness. Always store the coils in a dry, flat, and temperature - controlled environment. Avoid placing heavy objects on top of the coils as this can cause dents and deformations. When moving the coils, use proper lifting equipment such as forklifts or cranes with soft slings. Sharp or rough handling can scratch the surface or bend the edges of the coils, leading to uneven installation.
Pre - Inspection
Before you start the installation, conduct a thorough pre - inspection of the painted aluminum coils. Check for any visible signs of damage, bowing, or waviness. If you notice any defects, contact your supplier immediately. We, as a reliable paint aluminum coil supplier, offer great after - sales services and can provide replacements if necessary. Also, ensure that the installation surface is clean, flat, and level. Any irregularities in the surface will be transferred to the installed coil, resulting in an uneven appearance.
Measuring and Marking
Take accurate measurements of the installation area. Use a long, straight measuring tape to ensure that the dimensions are precise. Mark the installation area clearly with a chalk line or a marker. This will help you align the painted aluminum coils correctly and keep them in a straight line during installation. Keep in mind that even a small misalignment can cause the coils to appear uneven once installed.
Installation Techniques
Securing the Starting Point
Begin the installation by securing the starting edge of the painted aluminum coil firmly to the installation surface. Use appropriate fasteners, such as stainless - steel screws or clips, at regular intervals. Make sure the starting edge is perfectly straight and flush against the surface. This sets the foundation for a flat and even installation.
Gradual Unrolling
Unroll the painted aluminum coil slowly and steadily. Pay close attention to ensure that the coil remains flat as you unroll it. If the coil starts to curl or warp, stop immediately and try to correct the issue. You can use a flat board or a roller to smooth out any minor irregularities as you go.
Anchoring as You Go
As you continue to unroll the coil, anchor it to the surface at regular intervals. This prevents the coil from moving or shifting, which can lead to uneven flatness. Don't over - tighten the fasteners, as this can cause the coil to buckle. Instead, tighten them just enough to hold the coil securely in place.
Overcoming Obstacles
If you encounter obstacles, such as pipes or electrical outlets, carefully cut the painted aluminum coil to fit around them. Use a sharp utility knife or a metal cutter for a clean cut. Make sure the cut edges are smooth and properly aligned with the rest of the coil. After cutting, secure the edges firmly to maintain flatness.
Using Support Structures
In some cases, especially for large - scale or vertical installations, using support structures can help ensure the flatness of the painted aluminum coils. Install horizontal or vertical support bars at regular intervals. These bars provide additional stability and prevent the coils from sagging or bowing over time. Our Aluminum Lacquered Coil is well - suited for such installations and can work in harmony with support structures.
Post - Installation Checks
Once the installation is complete, conduct a final inspection. Walk around the installed area and look for any signs of unevenness. Check for any gaps, waves, or bulges in the painted aluminum coils. If you find any issues, make the necessary adjustments. You may need to loosen and re - tighten some fasteners or use a roller to smooth out the surface.
Conclusion
Ensuring the flatness of painted aluminum coils during installation is a multi - step process that requires careful planning, proper handling, and precise installation techniques. By following these tips, you can achieve a professional and flat finish for your projects. As a paint aluminum coil supplier, we're committed to providing high - quality products and excellent customer support. Whether you're working on a small DIY project or a large commercial installation, our coils are designed to meet your needs.
If you're interested in purchasing our paint aluminum coils, we'd love to have a chat with you. Contact us to discuss your specific requirements, and let's work together to bring your project to life.
References
- Industry best - practices for aluminum coil installation.
- Manufacturer's guidelines for painted aluminum coils.