

Hey there! I'm an ACP color sheet supplier, and I often get asked about how to install an ACP color sheet on a curved surface. It might seem like a tricky task, but with the right approach and a bit of know - how, you can get it done like a pro. In this blog, I'll walk you through the whole process step by step.
Understanding ACP Color Sheets
First off, let's quickly talk about what ACP color sheets are. ACP stands for Aluminum Composite Panel. These sheets are made up of two aluminum sheets bonded to a non - aluminum core. They come in a wide range of colors, which makes them super popular for both interior and exterior applications. You can use them for building facades, signage, and even interior decoration.
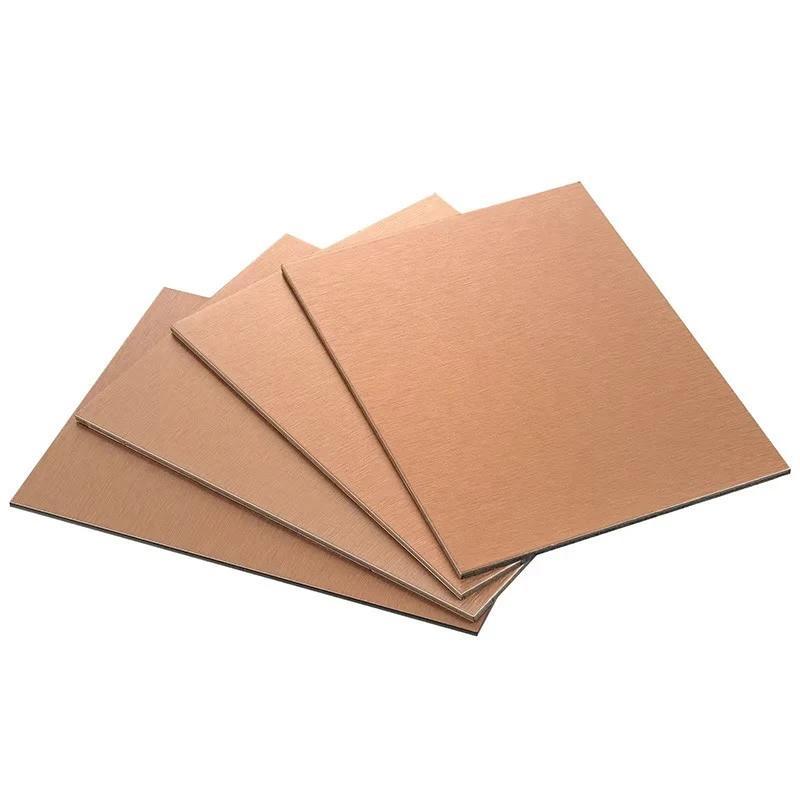
There are different types of ACP sheets too. For instance, you've got the Fire Rated ACP, which is great for places where fire safety is a concern. Then there's the Perforated ACP Sheet, which can be used for special effects like ventilation or creating a unique look. And don't forget the Fire Retardant Composite Paneling, which offers an extra layer of protection against fire.
Pre - installation Preparation
Before you start installing the ACP color sheet on a curved surface, you need to do some prep work.
- Measure the Surface: Use a flexible measuring tape to accurately measure the curved surface. Note down the length, width, and the radius of the curve. This will help you determine how much ACP sheet you'll need. You don't want to end up with too much or too little material.
- Clean the Surface: Make sure the curved surface is clean and free of dirt, dust, and any loose particles. You can use a mild detergent and water to clean it, and then dry it thoroughly. A dirty surface can prevent the ACP sheet from adhering properly.
- Choose the Right ACP Sheet: Not all ACP sheets are suitable for curved surfaces. You need to pick a sheet that has enough flexibility. Thinner sheets are generally more flexible than thicker ones. Also, consider the color and finish you want for your project.
Tools You'll Need
Here are the tools you'll need for the installation:
- Utility Knife: To cut the ACP sheet to the right size.
- Adhesive: A high - quality adhesive is crucial for bonding the ACP sheet to the curved surface. Make sure it's suitable for the materials you're working with.
- Caulking Gun: To apply the adhesive evenly.
- Roller: A soft - rubber roller can be used to smooth out the ACP sheet and remove any air bubbles after installation.
- Safety Gear: Don't forget to wear safety glasses and gloves to protect yourself during the installation process.
Cutting the ACP Sheet
Once you've got all your tools and materials ready, it's time to cut the ACP sheet.
- Mark the Cutting Line: Use a straightedge and a marker to mark the cutting line on the ACP sheet according to your measurements. Make sure the line is straight and accurate.
- Cut the Sheet: Place the ACP sheet on a flat surface and use a utility knife to score the sheet along the marked line. Score it a few times to make a deep cut. Then, bend the sheet along the scored line. The sheet should break cleanly along the line. If it doesn't, you can use the utility knife to finish the cut.
Applying the Adhesive
Now it's time to apply the adhesive to the curved surface.
- Prepare the Adhesive: Follow the manufacturer's instructions to prepare the adhesive. Some adhesives need to be mixed, while others come ready - to - use.
- Apply the Adhesive: Use a caulking gun to apply the adhesive in a zig - zag pattern on the curved surface. Make sure to cover the entire area where the ACP sheet will be placed. Don't apply too much adhesive, as it can cause mess and may not bond properly.
Installing the ACP Sheet
Here's how you install the ACP sheet on the curved surface:
- Position the Sheet: Carefully place the cut ACP sheet on the adhesive - covered curved surface. Start from one end and gradually lay the sheet down, following the curve. Make sure the sheet is aligned properly.
- Remove Air Bubbles: As you lay the sheet, use a soft - rubber roller to smooth out the sheet and remove any air bubbles. Roll the roller from the center of the sheet towards the edges. Apply even pressure to ensure a good bond.
- Trim the Edges: Once the ACP sheet is in place, use a utility knife to trim any excess material from the edges. Make the edges clean and neat.
Finishing Touches
After the ACP sheet is installed, there are a few finishing touches you can do:
- Seal the Edges: Use a sealant to seal the edges of the ACP sheet. This will prevent water and dirt from getting under the sheet and causing damage.
- Inspect the Installation: Check the installation to make sure there are no loose edges, air bubbles, or other issues. If you find any problems, fix them right away.
Troubleshooting
Sometimes, things don't go as smoothly as planned. Here are some common problems and how to fix them:
- Air Bubbles: If you notice air bubbles after installation, you can use a pin to prick the bubble and then use a roller to push out the air.
- Poor Adhesion: If the ACP sheet doesn't seem to be sticking properly, it could be because the surface was not clean or the adhesive was not applied correctly. You may need to remove the sheet, clean the surface again, and re - apply the adhesive.
Conclusion
Installing an ACP color sheet on a curved surface might seem challenging at first, but if you follow these steps, you'll be able to do it successfully. Whether you're doing a small DIY project or a large commercial installation, the key is to be prepared, use the right tools and materials, and take your time.
If you're interested in purchasing ACP color sheets for your next project, feel free to reach out for more information and to discuss your specific needs. We're here to help you make your project a success!
References
- Manufacturer's instructions for ACP sheets and adhesives.
- Industry best practices for ACP sheet installation.