

Hey there! As a supplier of Paint Aluminum Coil, I've seen my fair share of damaged painted aluminum coils. Whether it's due to rough handling during transportation, scratches from daily use, or environmental factors, damaged paint on aluminum coils can be a real headache. But don't worry, I'm here to share some tips on how to repair that damaged paint and make your aluminum coils look as good as new.
Understanding the Problem
First things first, you need to figure out what caused the paint damage. Is it a small scratch, a large chip, or maybe some fading? Different types of damage require different repair methods.
- Scratches: These are usually the result of sharp objects coming into contact with the painted surface. Minor scratches might only affect the top layer of paint, while deeper ones could expose the aluminum underneath.
- Chips: Larger chunks of paint can come off due to impacts or abrasions. This type of damage is more noticeable and needs to be addressed quickly to prevent further corrosion of the aluminum.
- Fading: Over time, exposure to sunlight, harsh weather conditions, or chemicals can cause the paint to fade. Fading doesn't necessarily mean the paint is damaged in the traditional sense, but it can make the coil look old and worn.
Gathering the Right Tools and Materials
Once you've identified the type of damage, it's time to gather the tools and materials you'll need for the repair. Here's a basic list:
- Sandpaper: Different grits of sandpaper are essential for smoothing the damaged area and preparing it for painting. Start with a coarse grit (around 80 - 120) to remove any loose paint or rough edges, and then move on to a finer grit (220 - 320) for a smooth finish.
- Primer: A good primer is crucial for ensuring that the new paint adheres properly to the aluminum surface. Look for a primer specifically designed for use on metal.
- Paint: Choose a paint that matches the original color and finish of the aluminum coil. You can usually find paint samples or color charts from the manufacturer to help you make the right choice.
- Paintbrushes or Spray Guns: Depending on the size and location of the damaged area, you can use either a paintbrush or a spray gun to apply the primer and paint. Paintbrushes are great for small, detailed areas, while spray guns are more efficient for larger surfaces.
- Masking Tape: Use masking tape to protect the surrounding area from overspray or accidental paint application.
- Cleaning Supplies: You'll need to clean the damaged area thoroughly before starting the repair. Use a mild detergent and water to remove any dirt, grease, or debris, and then dry the surface completely.
Step-by-Step Repair Process
Step 1: Clean the Damaged Area
Start by cleaning the damaged area with a mild detergent and water. Use a soft cloth or sponge to gently scrub the surface, making sure to remove any dirt, grease, or debris. Rinse the area thoroughly with clean water and dry it completely with a clean towel. This step is important because any dirt or contaminants on the surface can prevent the primer and paint from adhering properly.
Step 2: Sand the Damaged Area
Once the area is clean and dry, use sandpaper to sand the damaged area. Start with a coarse grit sandpaper (around 80 - 120) to remove any loose paint, rough edges, or rust. Sand in a circular motion, applying even pressure to ensure a smooth surface. Be careful not to sand too hard or you could damage the aluminum underneath.
After sanding with the coarse grit sandpaper, switch to a finer grit (220 - 320) to smooth out the surface further. This will help the primer and paint adhere better and give you a more professional-looking finish. Wipe away any dust or debris with a clean, dry cloth.
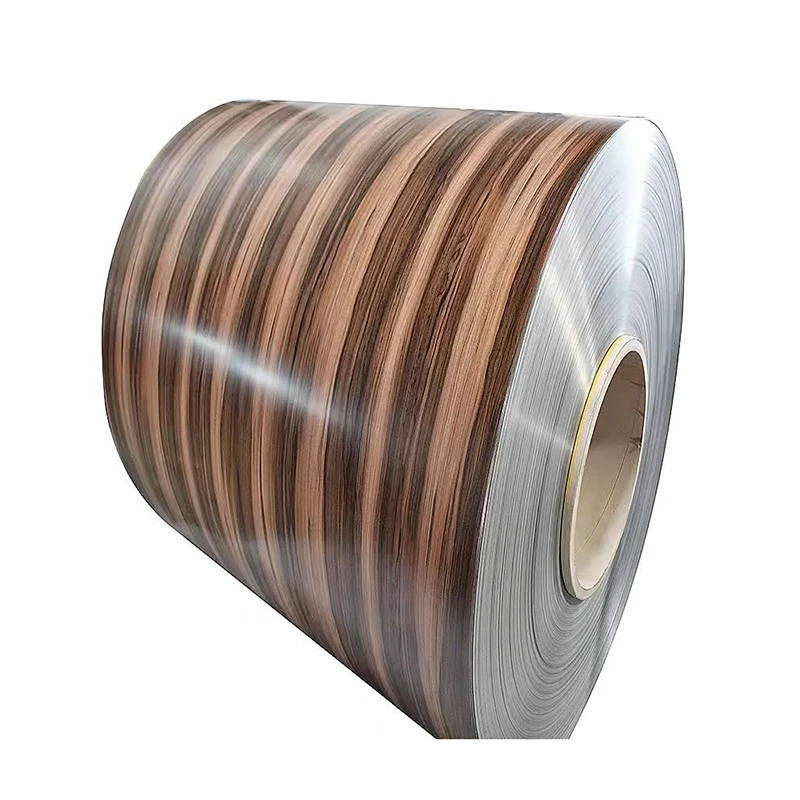

Step 3: Apply Primer
Now it's time to apply the primer. Shake the primer can well according to the manufacturer's instructions. If you're using a paintbrush, dip it into the primer and apply a thin, even coat to the damaged area. Make sure to cover the entire sanded area and a small border around it to ensure proper adhesion.
If you're using a spray gun, hold it about 8 - 10 inches away from the surface and spray in a steady, sweeping motion. Apply multiple thin coats of primer, allowing each coat to dry completely before applying the next one. This will help prevent drips and ensure a smooth, even finish.
Let the primer dry for the recommended amount of time specified on the product label. This usually takes a few hours, but it can vary depending on the type of primer and the environmental conditions.
Step 4: Apply Paint
Once the primer is dry, it's time to apply the paint. Just like with the primer, shake the paint can well before use. If you're using a paintbrush, apply a thin, even coat of paint to the primed area. Use long, smooth strokes and try to match the direction of the original paint finish.
If you're using a spray gun, hold it about 8 - 10 inches away from the surface and spray in a steady, sweeping motion. Apply multiple thin coats of paint, allowing each coat to dry completely before applying the next one. This will help build up the color and give you a more durable finish.
Make sure to let the paint dry for the recommended amount of time specified on the product label. This can take anywhere from a few hours to a few days, depending on the type of paint and the environmental conditions.
Step 5: Finish and Protect
After the paint has dried completely, you can add a clear coat or a protective sealant to the repaired area to help protect the paint and give it a more professional look. This step is optional, but it can help extend the life of the paint and make the repair more durable.
Let the clear coat or sealant dry completely before using or handling the aluminum coil.
Preventing Future Damage
While it's important to know how to repair damaged paint on aluminum coils, it's even better to prevent the damage from happening in the first place. Here are some tips to help you keep your painted aluminum coils in good condition:
- Proper Handling: When transporting or installing painted aluminum coils, make sure to handle them with care. Use padded gloves or tools to avoid scratching the paint, and avoid dropping or hitting the coils against hard surfaces.
- Regular Cleaning: Clean your painted aluminum coils regularly with a mild detergent and water to remove dirt, dust, and other contaminants. This will help prevent the buildup of grime and protect the paint from damage.
- Protective Coatings: Consider applying a protective coating or sealant to the painted surface of the aluminum coils to help protect the paint from UV rays, harsh weather conditions, and chemicals.
- Avoid Chemical Exposure: Keep your painted aluminum coils away from harsh chemicals, solvents, or abrasive cleaners, as these can damage the paint. If you need to clean the coils with a chemical cleaner, make sure to test it on a small, inconspicuous area first to make sure it doesn't cause any damage.
Conclusion
Repairing damaged paint on aluminum coils doesn't have to be a difficult or time-consuming process. By following these steps and using the right tools and materials, you can easily fix minor scratches, chips, or fading and make your aluminum coils look as good as new.
If you're in the market for high-quality Paint Aluminum Coil, Pre Painted Aluminum Coil, or Prefinished Aluminum Coils, I'd love to help you find the perfect product for your needs. Feel free to reach out to me for more information or to discuss your specific requirements. I'm always here to assist you in making the best choice for your project.
References
- Aluminum Association. (2023). Best Practices for Painting Aluminum.
- PPG Industries. (2023). Guide to Metal Painting and Coating.