

Hey there! I'm a supplier of Coating Aluminum Coil, and I've been in this game for quite a while. One question I get a lot from my customers is, "How to adjust the coating color of an aluminum coil?" Well, I'm here to share some tips and tricks that I've picked up over the years.
Understanding the Basics of Coating Colors
First things first, let's talk about the different types of coatings available for aluminum coils. There are two main types: paint and pre - coated finishes.
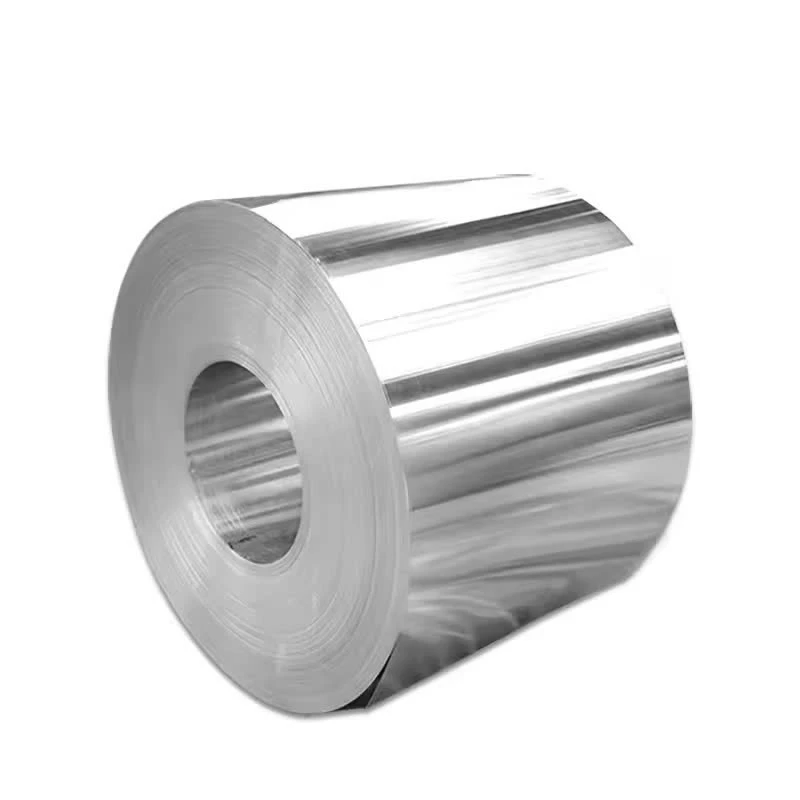
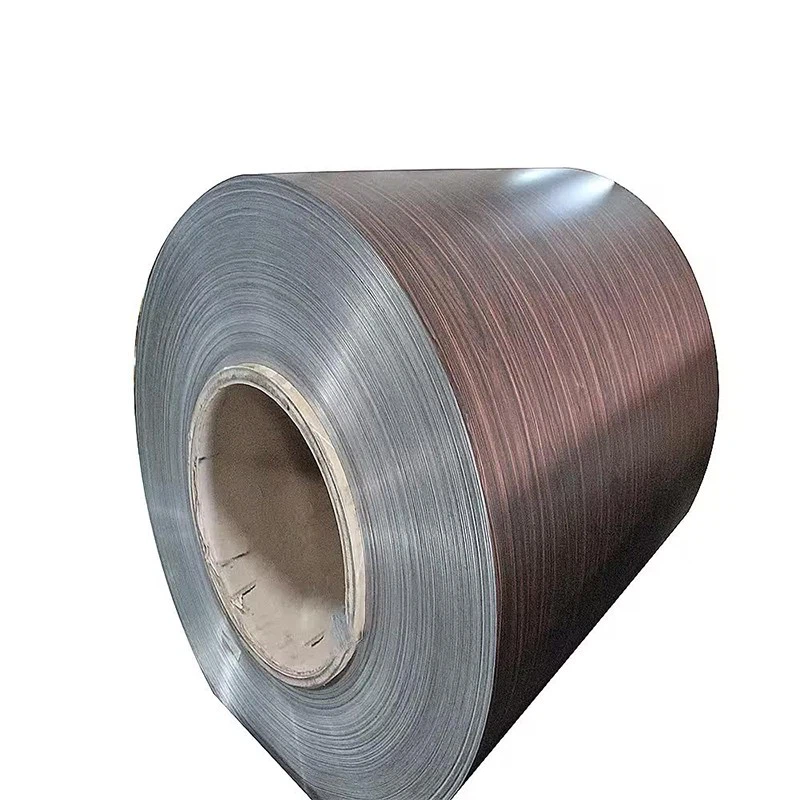
- Paint Aluminum Coil: You can find more details about Paint Aluminum Coil. Painting an aluminum coil allows for a wide range of color options. You can choose from standard colors to custom - mixed shades. However, it requires a proper painting process, including surface preparation, primer application, and top - coat application.
- Pre Coated Aluminium: Pre Coated Aluminium comes with a factory - applied coating. This type of coating is often more uniform and durable compared to on - site painting. The pre - coating process involves several steps in a controlled environment, which ensures high - quality results.
- Pre Painted Aluminium: Similar to pre - coated, Pre Painted Aluminium offers a ready - to - use solution with a variety of colors. The advantage is that it saves time and effort on the installation site.
Factors Affecting Coating Color
Before you start adjusting the coating color, you need to understand the factors that can affect it.
Pigment Selection
Pigments are what give the coating its color. Different pigments have different properties, such as lightfastness, hiding power, and tinting strength. For example, inorganic pigments are generally more light - fast and durable, while organic pigments can offer a wider range of bright and vivid colors. When choosing pigments, you need to consider the end - use of the aluminum coil. If it's going to be exposed to direct sunlight, you'll want to use pigments with good lightfastness.
Coating Thickness
The thickness of the coating can also affect the color. A thicker coating may appear darker and more saturated, while a thinner coating may look lighter. It's important to maintain a consistent coating thickness during the application process to ensure uniform color across the entire coil.
Substrate Condition
The condition of the aluminum substrate can impact the final color of the coating. A clean and smooth substrate will allow the coating to adhere better and result in a more consistent color. If the substrate has impurities, such as oil or dirt, it can cause the coating to have an uneven appearance or even affect the color development.
Steps to Adjust the Coating Color
Step 1: Sample Preparation
If you're looking to adjust the coating color, start by preparing samples. Take small pieces of the aluminum coil and apply different coating mixtures on them. Use a variety of pigment ratios and coating thicknesses to see how they affect the color. This will give you a better idea of what combination will achieve the desired color.
Step 2: Color Matching
Once you have your samples, it's time to match the color. You can use a color - matching tool, such as a spectrophotometer, to measure the color of the samples and compare them to the target color. This tool will provide accurate color data, including hue, saturation, and brightness. Based on the results, you can make adjustments to the pigment ratios in your coating mixture.
Step 3: Adjusting the Coating Mixture
If the sample color is too light, you can add more pigment to the coating mixture. Conversely, if it's too dark, you can reduce the amount of pigment or add more clear coating. Keep in mind that small adjustments can make a big difference in the final color, so make changes gradually and test the new mixture on another sample before applying it to the entire coil.
Step 4: Quality Control
After making the adjustments and applying the coating to the coil, it's crucial to perform quality control checks. Inspect the coated coil for color uniformity, coating thickness, and adhesion. If there are any issues, such as color variations or poor adhesion, you may need to make further adjustments or re - apply the coating.
Troubleshooting Common Color Issues
Color Variation
Color variation can occur due to inconsistent coating thickness, improper pigment mixing, or substrate issues. To fix this, make sure to maintain a consistent coating application process, thoroughly mix the pigments, and properly prepare the substrate.
Fading
If the coating color starts to fade over time, it could be due to the use of low - quality pigments or exposure to harsh environmental conditions. Consider using pigments with better lightfastness and provide proper protection for the coated coil, such as applying a clear top - coat.
Chalking
Chalking is when the coating surface becomes powdery and loses its color. This can be caused by excessive sunlight exposure, poor - quality binders in the coating, or improper application. To prevent chalking, choose coatings with high - quality binders and follow the recommended application procedures.
Conclusion
Adjusting the coating color of an aluminum coil is a process that requires careful consideration of various factors. By understanding the basics of coating colors, the factors that affect them, and following the steps for adjustment, you can achieve the desired color and high - quality results.
If you're in the market for Coating Aluminum Coil and need help with color adjustment or have any other questions, don't hesitate to reach out. We're here to assist you in finding the perfect solution for your project. Whether you need a specific color for an architectural application or a custom - made coating for industrial use, we've got you covered. Let's start a conversation and see how we can work together to meet your requirements.
References
- "Coating Technology Handbook"
- "Aluminum Surface Treatment and Finishing"